|
Performance charts for the aircraft are listed by flap position, phase of flight and possibly anti-ice or runway condition.
Clicking the appropriate category toggles the choices available .
When target values are assigned for takeoff distance or 2nd segment climb performance (such as stating a runway length or required gradient) the chart is automatically and repetitively run to render not only the result based on the current weight, but the max weight allowed to still meet the distance or gradient respectively.
Landing Distance Factors (None, 60% or 80% and 115%) in compliance with Opspec C082 are included.
|
|
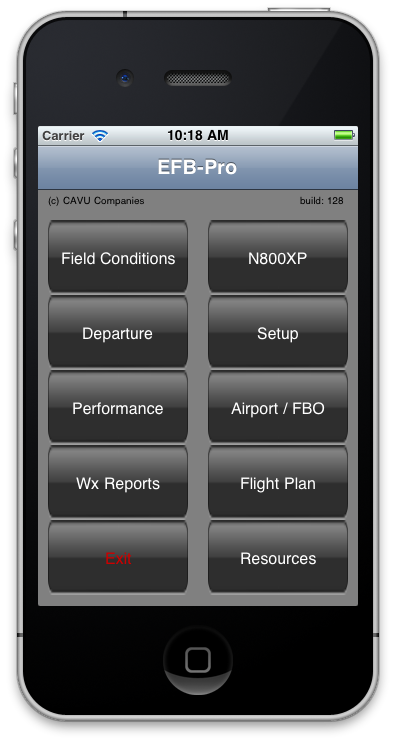
To start, the user selects Field Conditions |
|
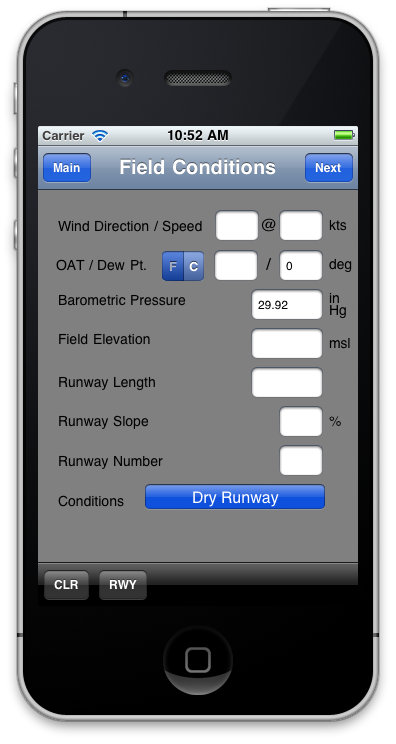 A blank field conditions page appears. A blank field conditions page appears.
The user can either manually complete this screen or utilize the included runway database by pressing the RWY button at the bottom of the screen. |
|
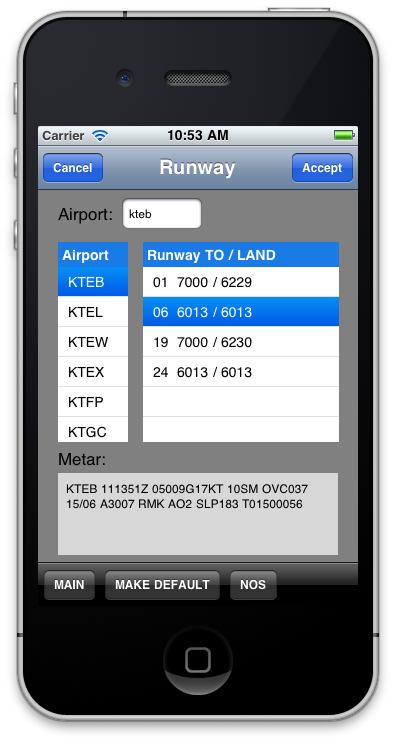 An international database of airports appears. An international database of airports appears.
Enter the 4-letter identifier or select from the list.
All runway for the airport appear with the available takeoff and landing distances displayed.
Based on the current METAR below, chose the appropriate runway and press ACCEPT.
|
|
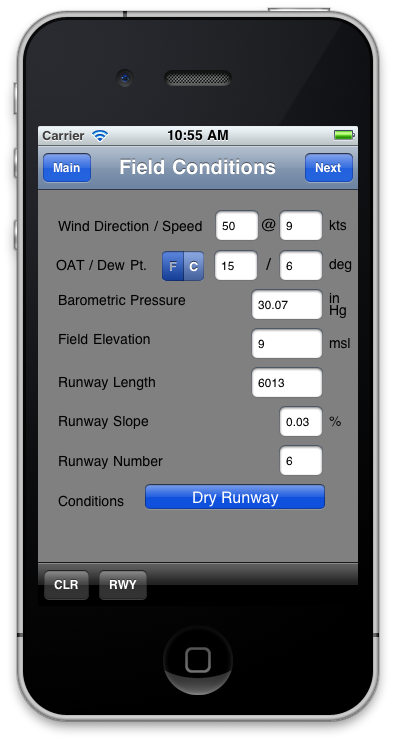
The Field Conditions page reappears with all the weather and runway parameters filled in.
You can of course over-ride any entry or toggle the runway condition to wet or contaminated, if AFM data is available for these conditions. |
|
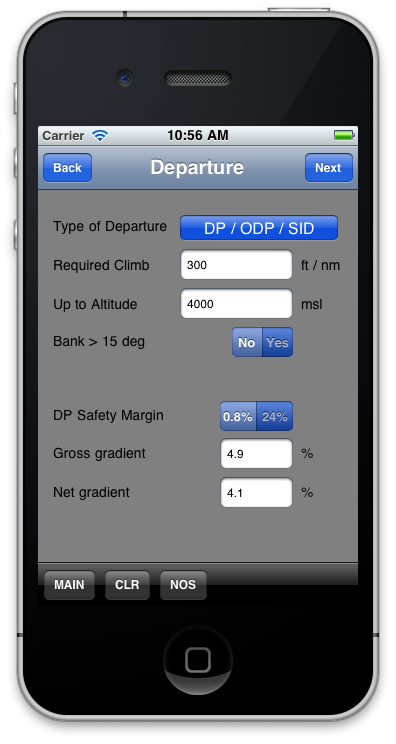 If a specific climb gradient or obstacle clearance is required, enter the published gradient or known obstacle and press NEXT. If a specific climb gradient or obstacle clearance is required, enter the published gradient or known obstacle and press NEXT.
Know obstacles can be entered by toggling the DP/ODP/SID button.
See the section on Obstacle Clearance for a more detailed explanation. |
|
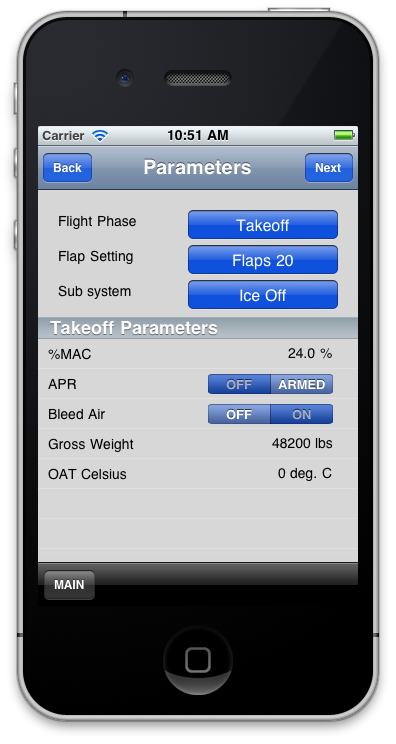
A final summary page appears to allow various subsystems' status to be set. You can also change the default flap setting and the desired gross weight.
The MGTOW or MGLW appear by default however, the resulting calculation will highlight the lowest maximum weight, in red, for the conditions entered.
If the takeoff distnace is less than the runway length, that too will be in red.
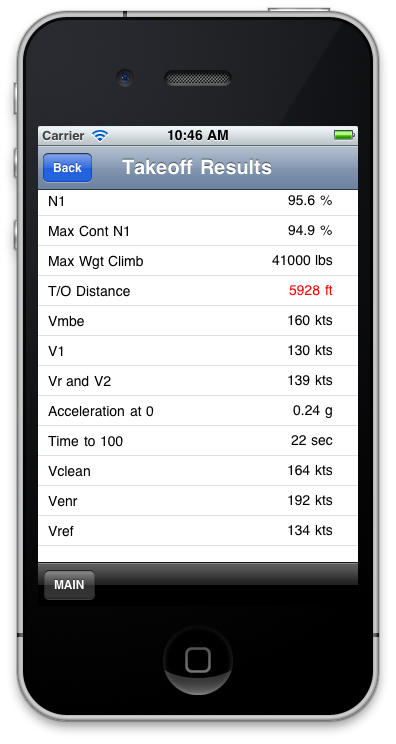
Pressing NEXT takes the user to the results screen (shown at the top of this page). |
"I've been flying these aircraft for over 30 years. When this department first started, we used APG. Even when we knew that we would get a V1 cut, we would brief to the point of deciding who would press what buttons and switches, the holding pattern entry, everything. We have event driven FMS so I only had to press a button to switch over the FMS.
When we actually practiced it in the sim, as busy as it got, it wasn't unusual for us to still mix it up. It was very apparent that this was un-doable on a regular basis on the line. Perhaps airlines that can train crew to a specific route schedule and a handful of special procedures, but its totally impractical for part 91 and 135 operators who never know what airport they will be departing from. Having to keep track of when the special procedures depart from the SID further complicates the problem. I can't over emphasize how distracting and busy it gets, even in the sim, during an engine out scenario. Keeping track of the new routing with IMC conditions and knowing that terrain is out there is just not practical.
Crews that use APG are kind of kidding themselves or maybe intentionally trying to placate regulatory requirements that this is a safe mechanism for assuring obstacle clearance. Most crews I know that use APG don't train in the sim for the product and really have no idea what they are buying into. And remember, none of these procedures have been flight tested."
Steve B, Chief Pilot
|